NeoPixel LEDのLEDアレイテープを手に入れた。
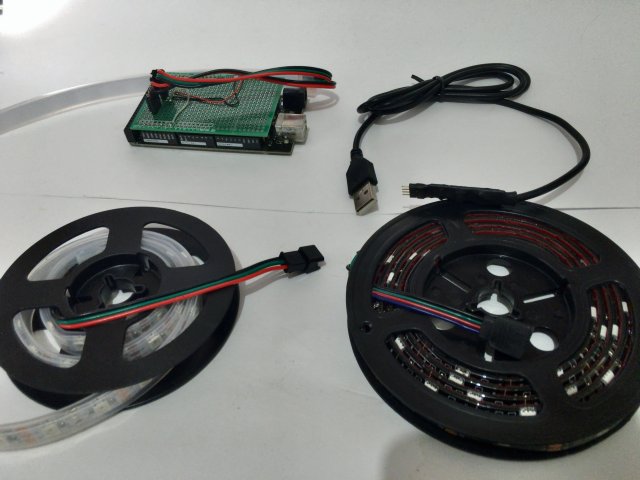
WS2812というLEDらしい。
制御線に信号を送って1つ1つのLEDのOn/Offを制御したり、カラーLEDの光る色をそれぞれ制御したりできる。
Arduinoマイコンボードにつないで点灯の制御をしてみた。Arduino IDEでAdafuit NeoPixel Lbraryというのを使った。
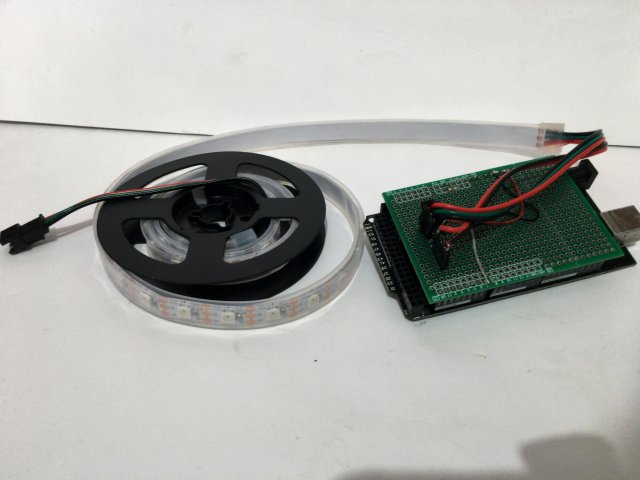
実行したコードはこんな感じ。
// NeoPixel Ring simple sketch (c) 2013 Shae Erisson
// Released under the GPLv3 license to match the rest of the
// Adafruit NeoPixel library

#include <Adafruit_NeoPixel.h>
#ifdef __AVR__
 #include <avr/power.h> // Required for 16 MHz Adafruit Trinket
#endif

// Which pin on the Arduino is connected to the NeoPixels?
#define PIN        14 // On Trinket or Gemma, suggest changing this to 1

// How many NeoPixels are attached to the Arduino?
#define NUMPIXELS 16 // Popular NeoPixel ring size

// When setting up the NeoPixel library, we tell it how many pixels,
// and which pin to use to send signals. Note that for older NeoPixel
// strips you might need to change the third parameter -- see the
// strandtest example for more information on possible values.
Adafruit_NeoPixel pixels(NUMPIXELS, PIN, NEO_GRB + NEO_KHZ800);

#define DELAYVAL 500 // Time (in milliseconds) to pause between pixels

void setup() {
  // These lines are specifically to support the Adafruit Trinket 5V 16 MHz.
  // Any other board, you can remove this part (but no harm leaving it):
#if defined(__AVR_ATtiny85__) && (F_CPU == 16000000)
  clock_prescale_set(clock_div_1);
#endif
  // END of Trinket-specific code.

  pixels.begin(); // INITIALIZE NeoPixel strip object (REQUIRED)
}

void loop() {
  pixels.clear(); // Set all pixel colors to 'off'

  // The first NeoPixel in a strand is #0, second is 1, all the way up
  // to the count of pixels minus one.
  for(int i=0; i<NUMPIXELS; i++) { // For each pixel...

    // pixels.Color() takes RGB values, from 0,0,0 up to 255,255,255
    // Here we're using a moderately bright green color:
    pixels.setPixelColor(i, pixels.Color(0, 150, 0));

    pixels.show();   // Send the updated pixel colors to the hardware.

    delay(DELAYVAL); // Pause before next pass through loop
  }
}
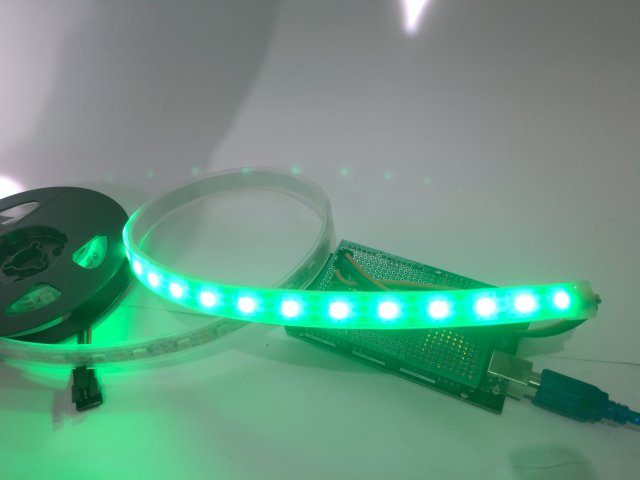
テープの端から順番にLEDが点灯するというexampleのデモだ。
無事に点灯の制御ができた。
何に使うのかというので、いろいろと考えている。
例えば筒状の透明な入れ物に入れて、炎を表現する照明を作るとか。
そういう既製品の電球はあるのだが、もっと大きさを大きく、カラーで作りたい。
→ 炎のように光るLED電球を手に入れた
あとは、1か月分の31個を並べて、毎日やること(例えば家に帰った時に手洗いとうがいをするとか)をちゃんと習慣づけるために、毎日実行をしたらボタンを押して1つづつ青色にLEDを点灯させていって、できなかった日は赤色に点灯させて、どれだけちゃんとできているか可視化する、とか考えている。
自作の表示装置みたいなものも考えているのだが、もっと小さい2mm×1mmくらいのLEDで、テープが1mm幅とかの細い品物が欲しい。
そういうのは製品化されないだろうか。